Here we'll show you how to use your phone as a remote control for your TI LaunchPad. The video below shows a similar Arduino Yún sketch in action.
Your LaunchPad can use text-to-voice to construct phone menus that can be used by you or anyone else to control your board from afar. With this power, your LaunchPad can work as a remote monitor and call you when it wants your input, opening up a wide range of possibilities for applications that react based on remote user input.
This sketch uses a choreo from our Nexmo bundle.
1Make sure you have a Temboo account. If you don't already have one, you can register for free.
2Next, make sure that you've got the latest version of Energia.
3You'll also need a Nexmo account, which you can create here.
4After you've created your Nexmo account, retrieve your Nexmo API Key and API Secret to use later when you run the Choreo. You can find your Nexmo API Key and Secret in the API Settings menu on the top right of the Nexmo dashboard, as shown in the screenshot below.
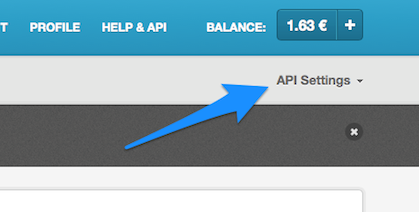
The API Settings menu on the Nexmo dashboard
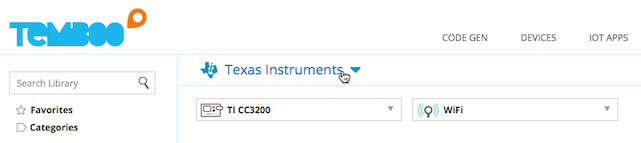
5Go to the Nexmo > Voice > CaptureTextToSpeechPrompt in our Library.
6Select "Texas Instruments" from the drop down menu, then choose your board. Make sure that you've added details about how your LaunchPad is connected to the internet.
7Click Generate Code to test out the Choreo from our website. Confirm that your phone gets a call and that when you enter a number of the keypad, that number is returned as part of the Nexmo response in the Output section of the page.
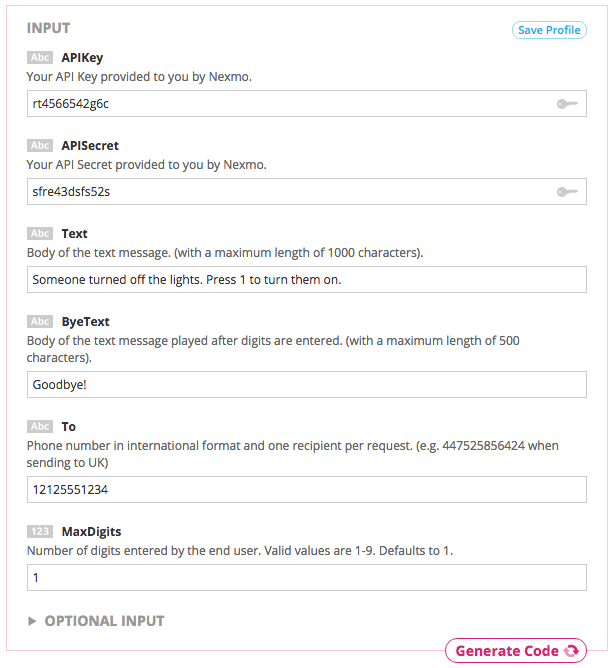
Testing the Nexmo Choreo from our website
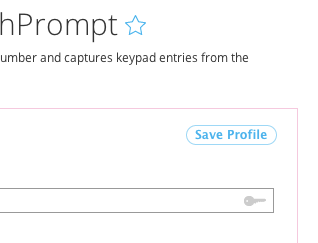
8Create a Profile from your Choreo inputs, so that you can refer to this profile in your sketch - this will help save RAM on your LaunchPad board, and also lets you change the behavior of your sketch by editing the Profile on our website as opposed to editing your code.
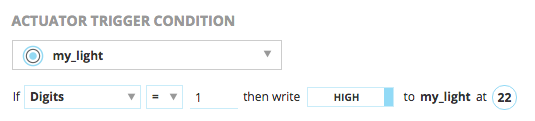
9Using the visual pin board, click one of the LaunchPad's pins to configure a digital actuator. Next, set an Actuator Trigger Condition for your digital actuator. Indicate that you want to set your actuator's digital pin to high if the user presses 1 on their keypad after receiving the phone call.
10When you've confirmed that the Choreo runs successfully and you've saved a Profile, you can copy the auto-generated LaunchPad code from the Code section and paste it into Energia.
11The auto-generated sketch references the TembooAccount.h header file, which contains your Temboo account information and internet shield details. You'll find the code for this file beneath your generated sketch. Create a new tab in Energia called TembooAccount.h and copy in the header file information.
12The final step before running any sketch is to confirm that you've selected the appropriate board and serial port in Energia. Go to the Tools > Board menu and select the LaunchPad that you're working with. Then go to Tools > Serial Port to select the port your board is connected to.
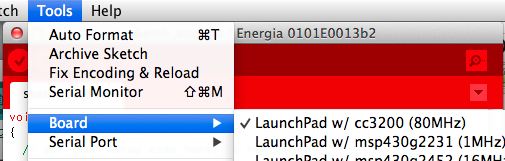
Select your board and port from Energia's Tools dropdown
13Run the sketch and trigger a phone call from your LaunchPad!
When you've got this sketch working, you're in a position to build any number of applications that involve sensing information on the LaunchPad and delegating control to a human when its time to make a choice about what to do next. Your IoT project just got a whole lot smarter.
If you've got questions about Nexmo, it's best to start by learning more about the Choreo that we use in this example. You might also find what you need by searching Nexmo's Knowledgebase.
For anything to do with Temboo and how it works with your LaunchPad, we're always happy to help. Just email us at support@temboo.com, and we'll answer you as quickly as possible.