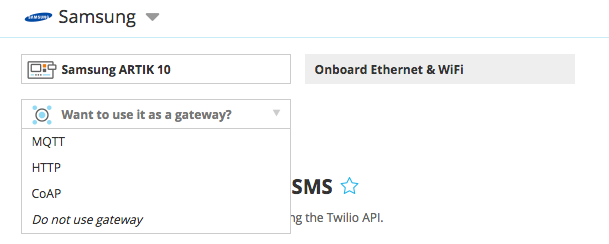
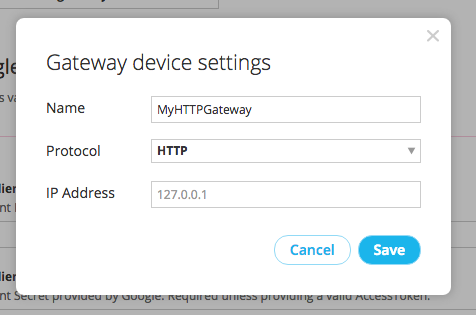
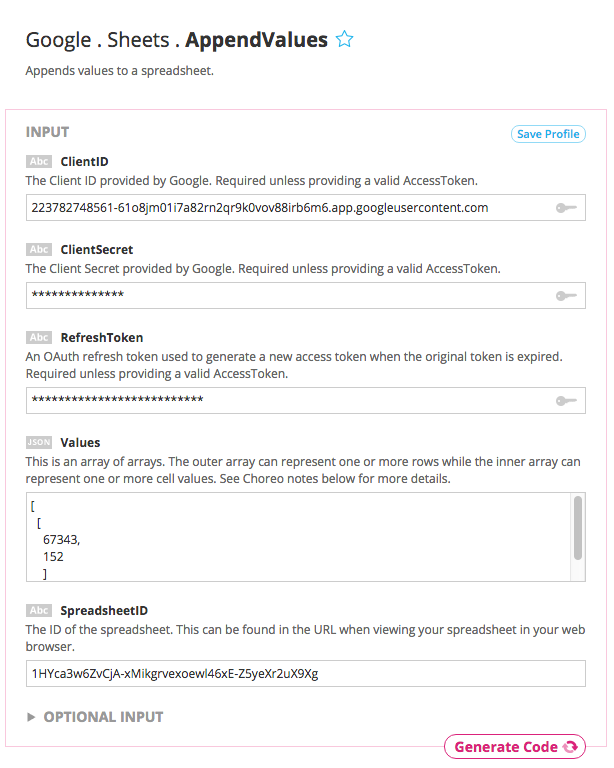
The first thing we'll do is get set up with Google Sheets so we can log sensor data from our devices. If you don't want to use Google Sheets for your application, but want to learn how to use Temboo to generate M2M code for a different application scenario, you can skip to the next section to get started setting up your gateway device.
1Before you get started, you'll need a Temboo account. If you don't already have one, you can sign up for free now.
2Since this sketch uses a Google spreadsheet, you'll also need a Google account.
3Login to Google's Developer Console, and create a new Project if you haven't done so already.
4Under the API Manager section, select Library and make sure you've enabled API Access for the Google Sheets API.
5Select Credentials in the API Manager section, and create a new Client ID specifying Web application for the Application Type.
6When configuring the Consent Screen, make sure you fill out the Email Address and Product Name fields.
7Save the Consent Screen details and specify the callback URL below as the Authorized Redirect URI. Make sure to replace ACCOUNT_NAME with your Temboo account name.
https://ACCOUNT_NAME.temboolive.com/callback/google
8
Go to the Google > OAuth > InitializeOAuth Choreo page, and fill in the Client ID from the app you registered at Google and the following Scope: https://www.googleapis.com/auth/spreadsheets. Then click Generate Code to run the Choreo from our site.
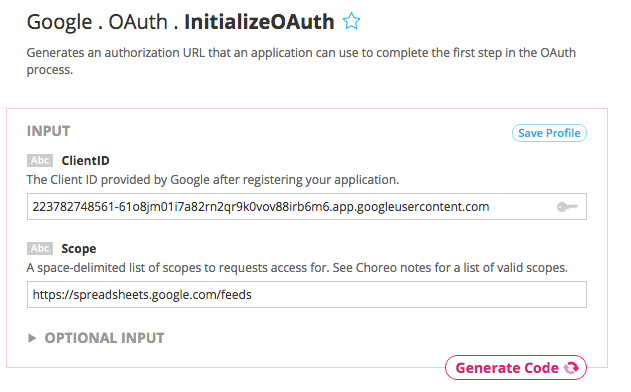
The InitializeOAuth choreo will return an authorization URL and a callback ID (required for the FinalizeOAuth step).
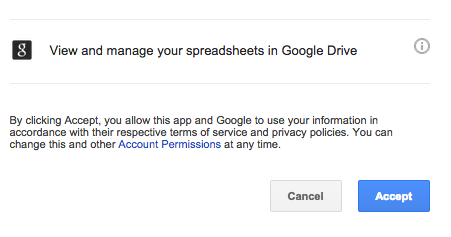
9Open a new web browser, navigate to the authorization URL returned by the InitializeOAuth Choreo, and click Accept to grant the app access to your Google account.
10Go to the Google > OAuth > FinalizeOAuth Choreo page, and specify the callback ID returned earlier by the InitializeOAuth Choreo. Then click Generate Code to run the Choreo from our site. This process will return a Refresh Token which can be used along with the Client ID and Client Secret to authenticate with Google.
11Create a Google Spreadsheet. In this example our spreadsheet has two columns as seen below: time (in milliseconds) and sensor values.
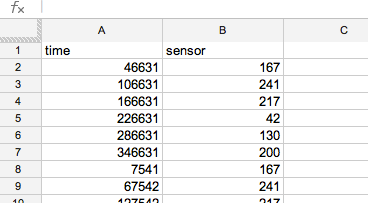
A screenshot of a spreadsheet taking data from a Yún - note the column names
12When viewing your spreadsheet, you'll see a spreadsheet ID in your browser's URL bar. Copy this ID because you'll need it when running the AppendValues Choreo. In the example below, the highlighted part is the Spreadsheet ID.


